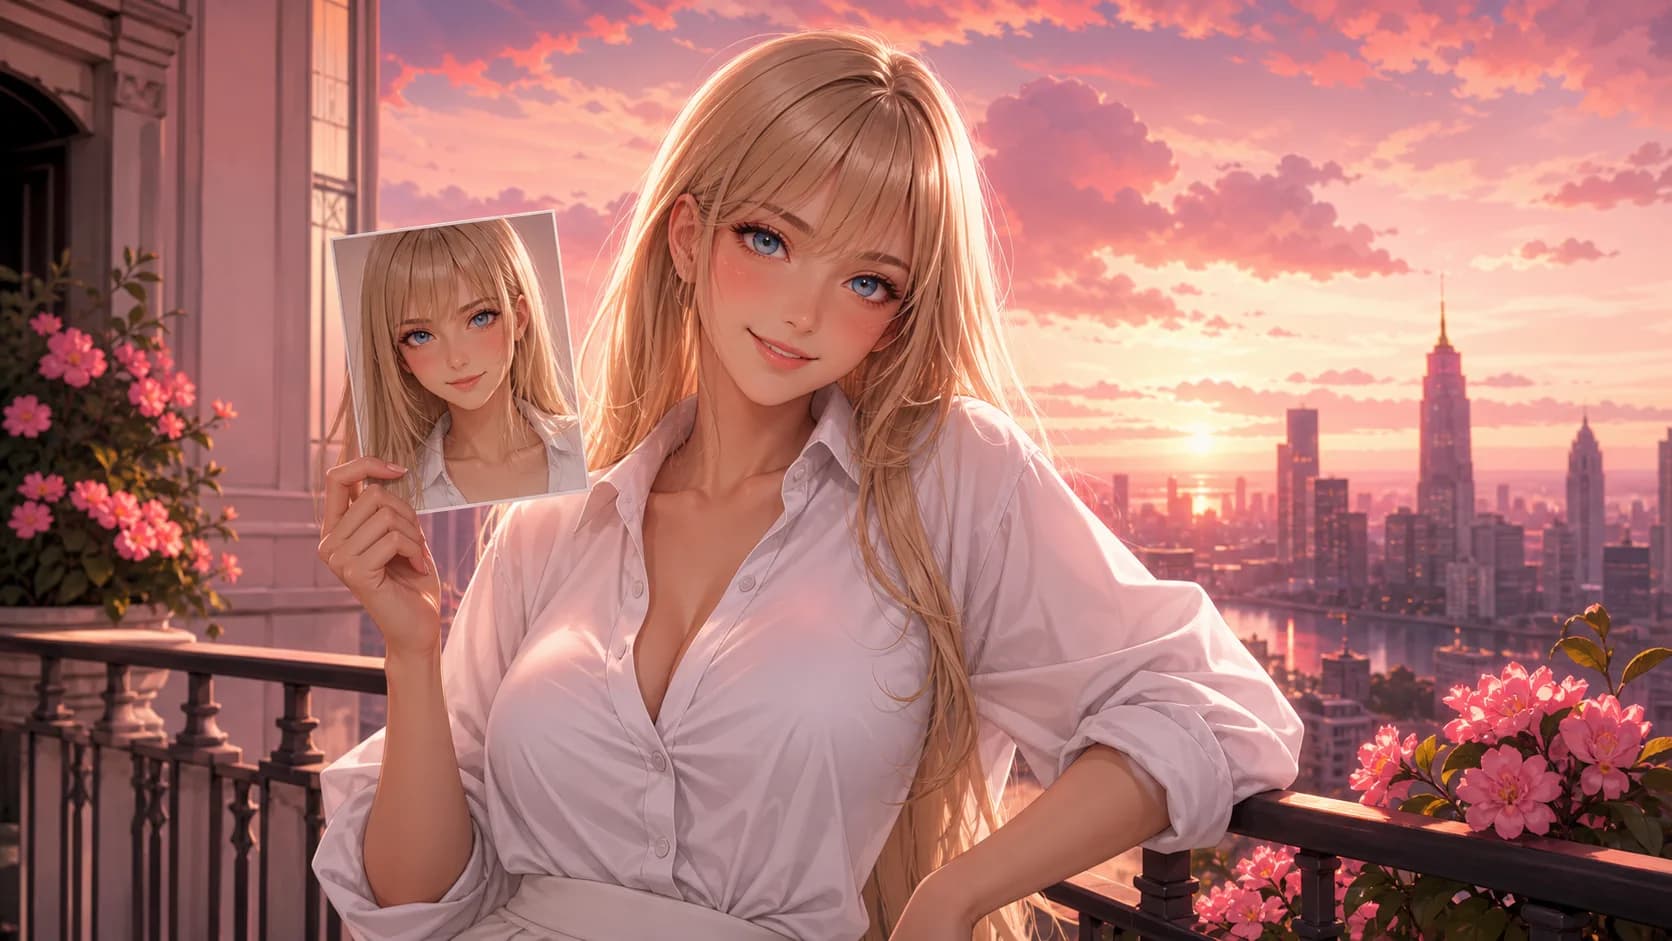
The easiest way to make NSFW AI art from a reference image is to upload one clear picture of a fictional adult character, use simple presets to choose the new scene, and generate. The reference tells the AI who to draw; the presets tell it what should change. In Gensomnia, the complete setup usually takes less than a minute, requires no model training, and does not require writing a prompt.
The Short Answer
Reference-first NSFW AI art is a two-part workflow: the image supplies the character identity, while presets or a short prompt supply the new scene. A clear portrait plus four choices — pose, clothes, location, and style — is enough to produce a new image in roughly 10–15 seconds after you press Generate. Unlike text-only generation, you do not have to re-describe the same face, hair, and build on every attempt.
This guide is specifically about uploading your own fictional-character reference. For the underlying mechanics, see our explanation of AI image-to-image reference generation.
| Input | What It Controls | Best Practice |
|---|---|---|
| Reference image | Face, hair, build, distinctive features | One clear fictional adult character |
| Pose | Body position and camera framing | Start simple before trying extreme angles |
| Clothes | Outfit and coverage | Choose a preset or describe one briefly |
| Location | Background and environmental context | Match the lighting to the mood |
| Style | Semi-realistic, anime, cartoon, or comics rendering | Keep one style while testing likeness |
How to Make NSFW AI Art From a Reference Image
Reference Image to Finished NSFW AI Art
- 1
Choose a clean fictional-character reference
Use a sharp portrait or waist-up image with one clearly visible adult character. AI-generated portraits, original characters, and artwork you have permission to use are ideal.
- 2
Open Custom Character
On the Generate screen, open the character picker, select Custom, and choose Upload Photo.
- 3
Upload the image
Pick an image file from your device. Gensomnia accepts image uploads up to 10 MB and immediately uses the selected file as the character reference.
- 4
Build the scene with presets
Choose a pose, clothes, location, and art style. Every field is optional, so you can start with only the two or three choices that matter most.
- 5
Generate and make one controlled change
Press Generate. If the first result is close but not perfect, keep the same reference and change only one preset or one phrase before trying again.
Start With Your Reference
Upload one fictional-character image, choose the scene, and generate in minutes.
Choose a ReferenceWhat Makes a Good NSFW AI Art Reference?
A good AI art reference makes identity unambiguous. The model can only anchor details that are visible in the source, so reference quality has more impact than adding another paragraph to the prompt.
Use a large, visible face. A portrait or waist-up composition is usually stronger than a distant full-body shot. Front-facing and three-quarter views give the model a readable facial structure.
Prefer even lighting. Heavy shadows can hide eye shape, skin tone, and half the face. Save dramatic neon or sunset lighting for the new scene instead of baking it into the identity source.
Upload one character, not a group. Multiple people create an ambiguous identity signal. Crop to the one fictional adult character you want to carry forward.
Avoid obstructions. Sunglasses, masks, hair over the eyes, hands over the face, and strong motion blur all remove useful identity information.
Use the original-quality file. A clean image is better than a screenshot compressed several times. Staying below the 10 MB upload limit does not require shrinking an already reasonable portrait.
| Strong Reference | Weak Reference | Likely Effect |
|---|---|---|
| Sharp portrait | Blurry screenshot | Cleaner facial detail |
| Face fills the frame | Distant full-body shot | Closer likeness |
| Even light | Face hidden in shadow | More stable features |
| One character | Group image | Unambiguous identity |
| Uncovered face | Mask or heavy obstruction | Fewer invented details |
Keep the NSFW Workflow Easy and Fast
The fastest workflow separates identity decisions from scene decisions. Upload the character once, then use preset cards instead of trying to encode everything in a long prompt. If you want a quick first result, choose only a pose, location, and style; add clothes or custom text only when the idea needs it.
Three safe prompt structures cover most custom scenes:
confident pose, oversized shirt, pink-lit bedroom, semi-realisticleaning by a rooftop railing, warm sunset, cinematic anime stylereclining on a velvet sofa, soft lamp light, comic-book style
These are scene instructions, not identity descriptions. There is no need to repeat hair color, face shape, or other traits already visible in the reference. Repeating them can conflict with the image and make the character less stable.
If you prefer not to type at all, the preset workflow is the faster version of our 30-second NSFW AI art guide. If you need precise camera, lighting, or composition control, switch to Advanced and follow the short NSFW prompt structure.
How to Improve the First Result
The One-Change Rule is the simplest way to improve a reference-based generation: keep the reference and every working setting fixed, then change only the weakest part. This turns random rerolling into a small, readable experiment.
| Problem | Most Likely Cause | First Fix |
|---|---|---|
| Face does not match | Reference is distant, blurry, or shadowed | Use a closer, clearer reference |
| Character changes between runs | Too many identity details in the prompt | Remove repeated face and hair descriptions |
| Pose looks awkward | Pose conflicts with framing or outfit | Try a simpler pose before changing identity |
| Background overwhelms the subject | Scene description contains too many competing details | Keep one location and one lighting cue |
| Style weakens likeness | The rendering shift is too extreme | Test Semi-Realistic first, then change style |
For stubborn recurring artifacts, add a short negative prompt that names only the actual failure. Our negative-prompt guide explains why a small targeted list usually beats a giant copied block.
Who This Workflow Is For — and Who It Is Not For
This workflow is for adults who already have a fictional character image and want new scenes without installing models, training a LoRA, or learning node graphs. It is especially useful for original characters, AI-generated portraits, and licensed artwork where one clear reference already captures the identity you want.
It is not the best fit if you need pixel-level editing, inpainting, a locally trained private model, or repeatable technical control over every sampling parameter. A local Stable Diffusion or ComfyUI setup offers more knobs, but requires more setup and maintenance. Our workflow decision tree explains when that trade is worth making.
Safety Rules for Uploaded References
Uploaded references must depict fictional adults. Images of real people are prohibited, including public figures, acquaintances, and the uploader. Anything involving minors is prohibited without exception. Only upload artwork you created, generated, commissioned, or otherwise have permission to use.
These rules apply to the source image and the requested output. A reference being fictional does not override the requirement that the depicted character must be an adult.
Turn One Reference Into a New Scene
Bring a clear fictional adult character, choose a few presets, and let the reference hold the identity.
Open the GeneratorFrequently asked questions
Yes. Upload a clear image of a fictional adult character, then use presets or a short prompt to define the new pose, clothes, location, and style. Images of real people and anything involving minors are prohibited.
NSFW image-to-image generation uses a source picture as an identity anchor while producing a new adult-themed scene. The source defines who appears; scene settings define what changes.
No. The reference guides identity, but the generator creates a new composition. Pose, background, clothes, lighting, and rendering style can all differ from the source.
Use a sharp portrait or waist-up image of one fictional adult character with a large, unobstructed face and even lighting. Avoid group images, distant shots, masks, and heavy blur.
No. Gensomnia prohibits references depicting real people, including selfies, celebrities, acquaintances, and public figures. Use fictional characters, original artwork, or AI-generated adult characters instead.
No. Pose, clothes, location, and style presets can define the scene without a text prompt. Advanced text is optional when you want a more specific composition.
Selecting a reference and presets usually takes less than a minute. After Generate is pressed, a typical Gensomnia image renders in roughly 10–15 seconds, although queue conditions can vary.
The most common causes are a small or blurry face, harsh shadows, multiple characters, facial obstructions, or conflicting identity words in the prompt. Start with a closer reference and remove repeated appearance descriptions.